I recently finished working on my Aile Strike ver. RM where I did just that, so I'm going to talk a bit about that experience, and give some advice in how to go about it yourself. Note:
First, a lesson in electronics!
Let me introduce a handy equation known as "Ohm's Law"
V = IR
Where:
V = the difference in electrical potential between two points, measured in Volts (V)
I = current through the circuit, measured in Amps (A)
R = electrical resistance, measured in Ohms (Ω)
A typical LED circuit looks something like this:
 |
| Typ. LED circuit (EMF = Electromotive Force, measured in Volts) |
and we can use Ohm's law to calculate what size of a resistor we need.
Here's an example, Suppose we've got 5V from a USB port and a 2V, 20 mA LED.
First, we'll use something called Kirchoff's Voltage Law, which put very simply states that in a closed loop, the amount of voltage provided from the power supply will equal to the sum of the voltage drops across the components in the circuit. Or simply Vpower supply = Va - Vd. In more practical terms, it tells us that voltage at point A = 5V and at point D = 0V
So point A is 5V, points D & C is 0V. Since it's a 2V LED, you can solve for the voltage at point B :
Vb = 2-0, Vb = 2V.
Now we use Ohm's law.
V = IR
(Va-Vb) = IR
(5V-2V) = (0.02 A)*R
150Ω = R
Now we know that we need a 150Ω Resistor! Yay!
Here's a guide to identifying a resistor if you need to. If you just buy one though, the packaging will tell you what its resistance is.
Note: The voltage and current for your LED should be on the packaging somewhere. It will vary from one LED to the next, so make sure you check. Also, I used a 5V USB in my example, but most batteries will be 1.5V. That will likely be fine to power a typical LED with no resistors, however if you need more voltage from your batteries, you just put them together and you'll have a 3V power supply.
Installation!
Now this part will vary a lot from kit to kit. There a couple things though that will impact your strategy.
- Where is your power coming from? A battery - internal or external? USB - cord, or port?
- How many LEDs? Where are they located?

When I did my Strike, I opted for the USB port located in his butt. There were a couple reasons for this. There isn't room for a battery, and I didn't want a cord dangling out anywhere. Not to mention, there was a convenient hole there already for the stand. Also, it's just a really cool concept if I do say so myself.
Note that if you go for the battery route, make sure it's easily removable or put a switch somewhere you can reach it.
Once you decide where your LED(s) will be and where your power is coming from, you can start to map out your wiring. This part will depend a lot on the particulars of your kit, but the biggest sticking point will likely be finding room for your resistor if you need one. You can see below how much space it takes. It couldn't go into that big space above because that's where the backpack connector slides in. I had to make some serious modifications to the inside of the back, and make some holes for the wires to run up and connect to the LED in the head.
 |
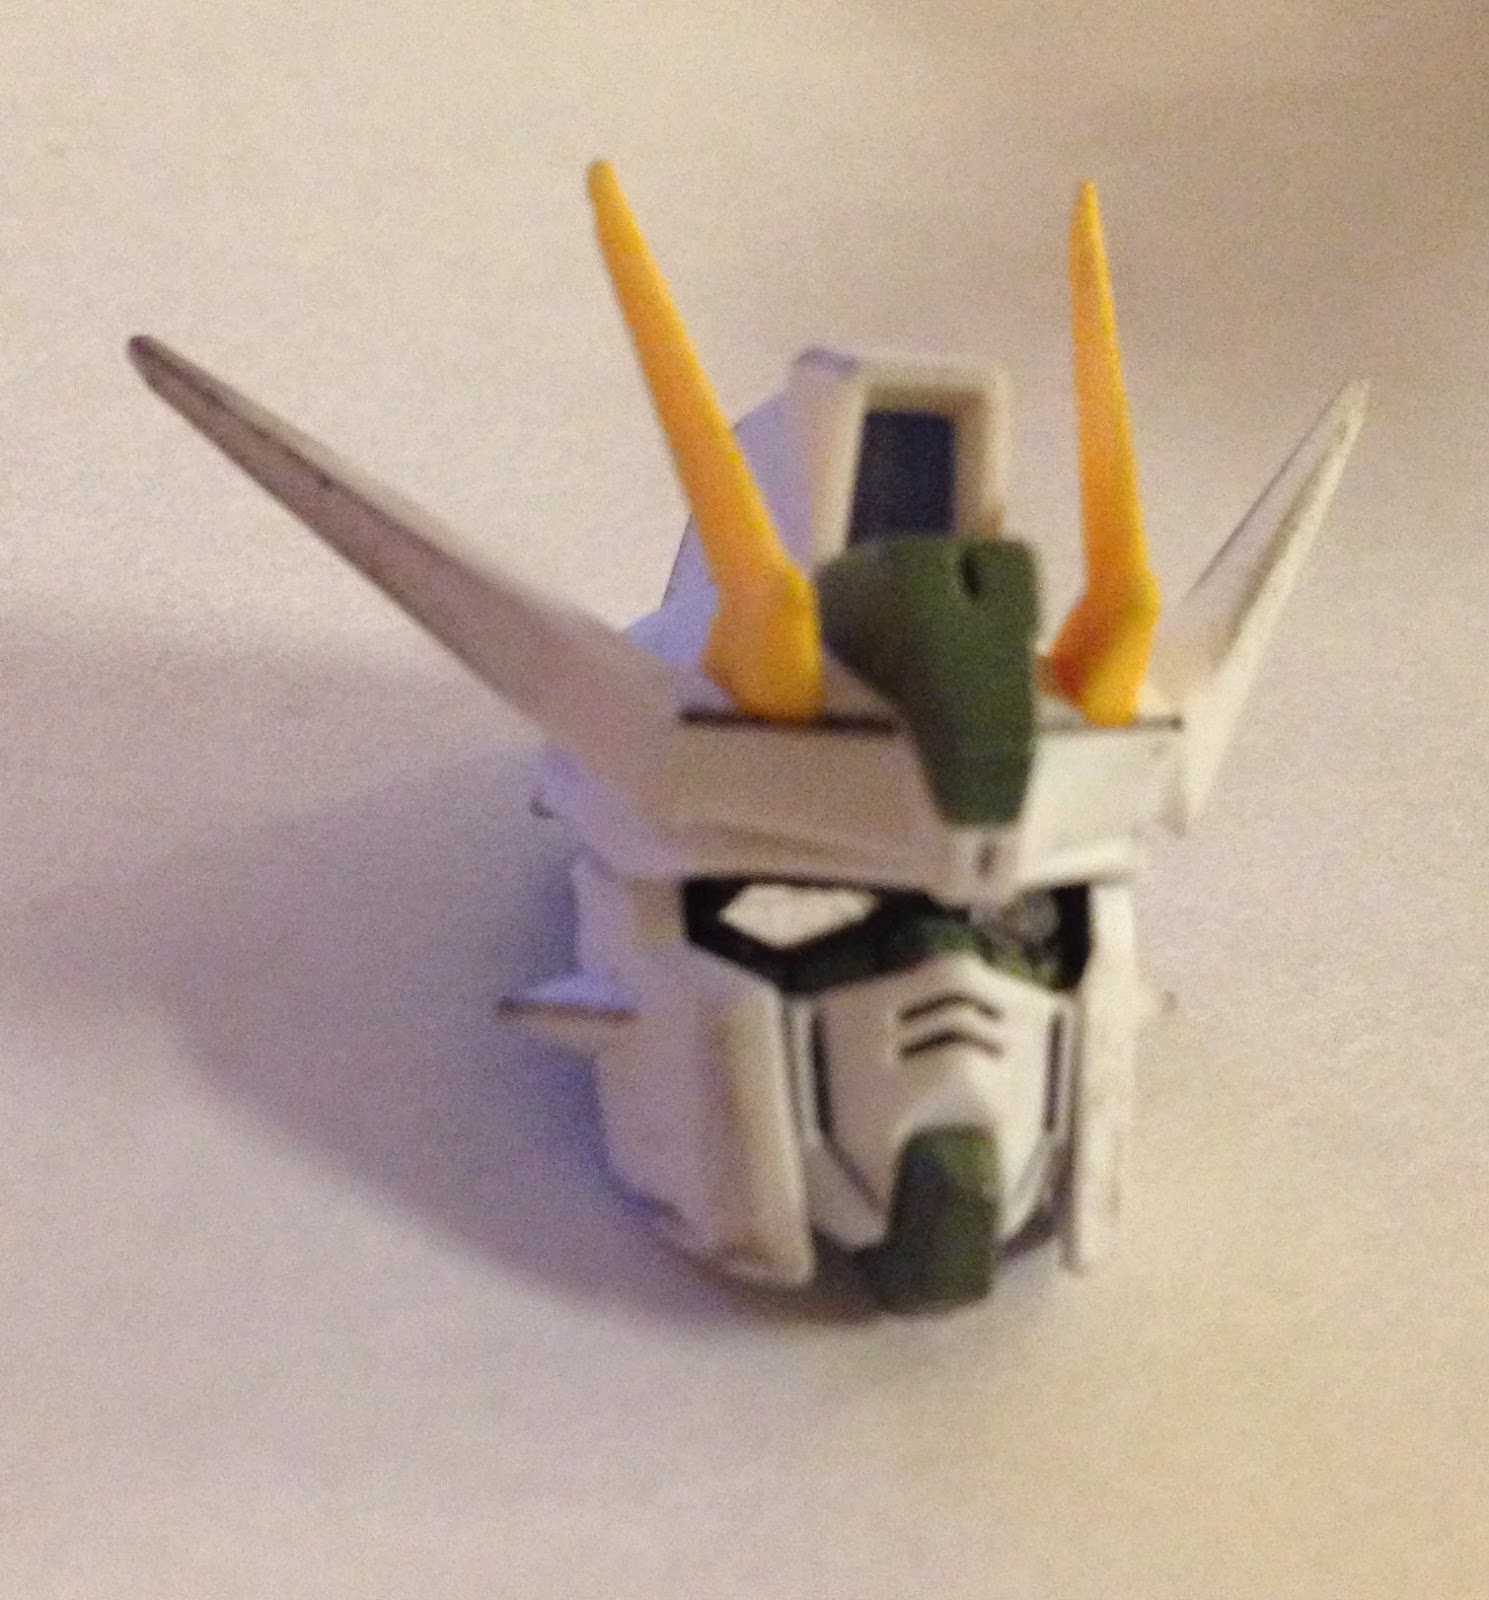
I also made to modify the head in order to make the LED fit - including shaving the LED plastic into a smaller size. One of the goals here was to make it such that the LED is removable (by melting the solder) when it eventually burns out. I also painted the inside of the head to prevent light leaks (except for the clear eye piece obviously), and painted the outside of the eye piece to make the eyes stand out.

Now the fun part - the USB port in the butt.
For starters you need the USB port. You can buy one like from here, or cannibalize one from an existing cable or something.
Here's a great site explaining what the connections are for your USB. You'll want the positive end of your LED connected to the '+5 VDC' pin, and the negative end of your LED to the 'ground' pin. You don't need to do anything with the data pins since we're only using it for power.
Speaking of positive and negative ends of the LED - Here's something you should know about LEDs. The "D" stands for Diode, which means that it only allows current to flow in one direction. As such it's important to put the LED in the right direction. Notice how the LED has one end longer than the other? That long end has to be connected to the positive end of your circuit. You can see in the pictures below how it lights up when oriented one way, but when I flip the LED around, it doesn't.


Installing the USB port is just something you'll have to figure out on your own, as the ideal spot for it will vary depending on your model. I chose my location because there was an existing hole that was almost exactly the right size. I did have to modify the hip joints in order to fit the connector, but with almost no impact on the articulation of my Strike's legs. The connector is held in with hot glue because plastic cement doesn't work on metal (I imagine - I haven't tested).

A Final note
These are very general sorts of guidelines and experiences that are relevant to my experience doing an LED mod. I tried to make it as general as I could and explain principles that are applicable to any situation. I'm sure I left stuff out though, so if something needs more explanation just let me know and I'll try to answer any questions.
One last thing. Performing this mod requires the use of a soldering iron. If you don't have any soldering experience, I highly recommend doing a lot of practicing with spare bits of wire before you do it do your model. There are plenty of videos online that can help you out. I am not an expert and won't pretend to be one so I will defer to others expertise when it comes to teaching proper use. However, it is very important to be capable with your soldering iron. An unsteady hand can easily damage the plastic of your kit, and burn yourself. Irresponsible use of an iron can cause a fire in your home, so be very careful.
Thanks for reading!
This comment has been removed by a blog administrator.
ReplyDeleteHi! Awesome work on your MG Aile Strike! I've the same model and was wondering if you had more pictures of what you did with the insides of its head as I really want to follow what you did with your Strike! Thanks in advance! :)
ReplyDeleteI want to make led unit for the perfect grade unicorn, requires atleast 11 leds. It is even possible to make a route of 11 leds? What components do i need and how many battery's would i need?
ReplyDelete